Bootstrap Menu Styles
Intro
Even the simplest, not stating the extra challenging webpages do require some form of an index for the site visitors to conveniently get around and locate precisely what they are seeking in the very first few secs avter their coming over the webpage. We should regularly have in head a visitor might be in a hurry, visiting multiple pages briefly scrolling over them looking for an item or else choose. In these situations the certain and well stated navigational selection might possibly bring in the difference amongst one latest customer and the page being actually clicked away. So the building and activity of the webpage navigating are critical without a doubt. Moreover our websites get more and more observed from mobile phone in this way not having a web page and a navigation in particular acting on smaller sreens basically equals not having a page in any way or even worse.
The good news is the brand-new fourth version of the Bootstrap system grants us with a powerful tool to manage the problem-- the so called navbar feature or the menu bar people got used spotting on the high point of many web pages. It is certainly a simple still efficient instrument for covering our brand's identity data, the pages structure or even a search form or a handful of call to action buttons. Let us see just how this whole entire thing gets performed within Bootstrap 4.
Exactly how to make use of the Bootstrap Menu Mobile:
Initially we want to have a
<nav>.navbar.navbar-light.bg-fadedbg-inverse.navbar-inverseYou are able to likewise apply some of the contextual classes such as
.bg-primary.bg-warningOne more bright new element presented in the alpha 6 of Bootstrap 4 system is you have to additionally assign the breakpoint at which the navbar should collapse in order to get shown once the menu button gets clicked. To complete this add a
.navbar-toggleable- ~the desired viewport size ~<nav>Following step
Thereafter we need to design the so called Menu switch which in turn will show in the place of the collapsed Bootstrap Menu Mobile and the customers will certainly use to deliver it back on. To work on this create a
<button>.navbar-togglerdata-toggle =“collapse”data-target =“ ~ the ID of the collapse element we will create below ~ ”.navbar-toggler-rightSupported material
Navbars come up with built-in assistance for a handful of sub-components. Pick from the following as required :
.navbar-brand.navbar-nav.navbar-toggler.form-inline.navbar-text.collapse.navbar-collapseHere's an instance of each of the sub-components featured in a responsive light-themed navbar that immediately collapses at the
md
<nav class="navbar navbar-toggleable-md navbar-light bg-faded">
  <button class="navbar-toggler navbar-toggler-right" type="button" data-toggle="collapse" data-target="#navbarSupportedContent" aria-controls="navbarSupportedContent" aria-expanded="false" aria-label="Toggle navigation">
    <span class="navbar-toggler-icon"></span>
  </button>
  <a class="navbar-brand" href="#">Navbar</a>

  <div class="collapse navbar-collapse" id="navbarSupportedContent">
    <ul class="navbar-nav mr-auto">
      <li class="nav-item active">
        <a class="nav-link" href="#">Home <span class="sr-only">(current)</span></a>
      </li>
      <li class="nav-item">
        <a class="nav-link" href="#">Link</a>
      </li>
      <li class="nav-item">
        <a class="nav-link disabled" href="#">Disabled</a>
      </li>
    </ul>
    <form class="form-inline my-2 my-lg-0">
      <input class="form-control mr-sm-2" type="text" placeholder="Search">
      <button class="btn btn-outline-success my-2 my-sm-0" type="submit">Search</button>
    </form>
  </div>
</nav>
Brand
The
.navbar-brand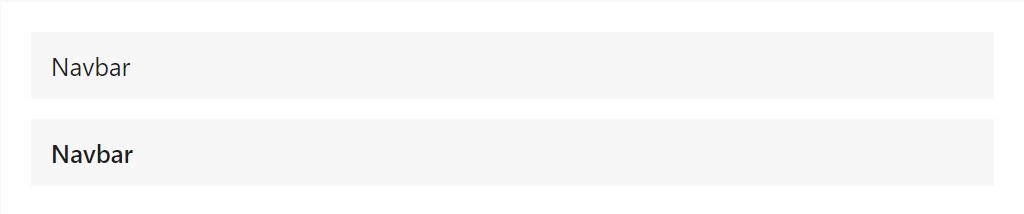
<!-- As a link -->
<nav class="navbar navbar-light bg-faded">
  <a class="navbar-brand" href="#">Navbar</a>
</nav>

<!-- As a heading -->
<nav class="navbar navbar-light bg-faded">
  <h1 class="navbar-brand mb-0">Navbar</h1>
</nav>
Nav
Navbar site navigation web links based on Bootstrap
.navActive forms-- with
.active.nav-links.nav-items
<nav class="navbar navbar-toggleable-md navbar-light bg-faded">
  <button class="navbar-toggler navbar-toggler-right" type="button" data-toggle="collapse" data-target="#navbarNav" aria-controls="navbarNav" aria-expanded="false" aria-label="Toggle navigation">
    <span class="navbar-toggler-icon"></span>
  </button>
  <a class="navbar-brand" href="#">Navbar</a>
  <div class="collapse navbar-collapse" id="navbarNav">
    <ul class="navbar-nav">
      <li class="nav-item active">
        <a class="nav-link" href="#">Home <span class="sr-only">(current)</span></a>
      </li>
      <li class="nav-item">
        <a class="nav-link" href="#">Features</a>
      </li>
      <li class="nav-item">
        <a class="nav-link" href="#">Pricing</a>
      </li>
      <li class="nav-item">
        <a class="nav-link disabled" href="#">Disabled</a>
      </li>
    </ul>
  </div>
</nav>
Forms
Install several form controls and components in a navbar by having
.form-inline
<nav class="navbar navbar-light bg-faded">
  <form class="form-inline">
    <input class="form-control mr-sm-2" type="text" placeholder="Search">
    <button class="btn btn-outline-success my-2 my-sm-0" type="submit">Search</button>
  </form>
</nav>
Text
Navbars may feature pieces of content with help from
.navbar-text
<nav class="navbar navbar-light bg-faded">
  <span class="navbar-text">
    Navbar text with an inline element
  </span>
</nav>
Another element
One more brilliant brand new capability-- within the
.navbar-toggler<span>.navbar-toggler-icon.navbar-brandNext we require to generate the container for our menu-- it will widen it in a bar with inline pieces over the determined breakpoint and collapse it in a mobile view below it. To do this make an element using the classes
.collapse.navbar-collapse.collapse.navbar-togglerUltimate part
Finally it's moment for the real site navigation menu-- wrap it inside an
<ul>.navbar-nav.nav<li>.nav-item.nav-linkConclusions
So generally speaking this is certainly the form a navigating Bootstrap Menu Tutorial in Bootstrap 4 should carry -- it is really pretty practical and user-friendly -- right now the only thing that's left for you is thinking out the right system and pleasing captions for your web content.
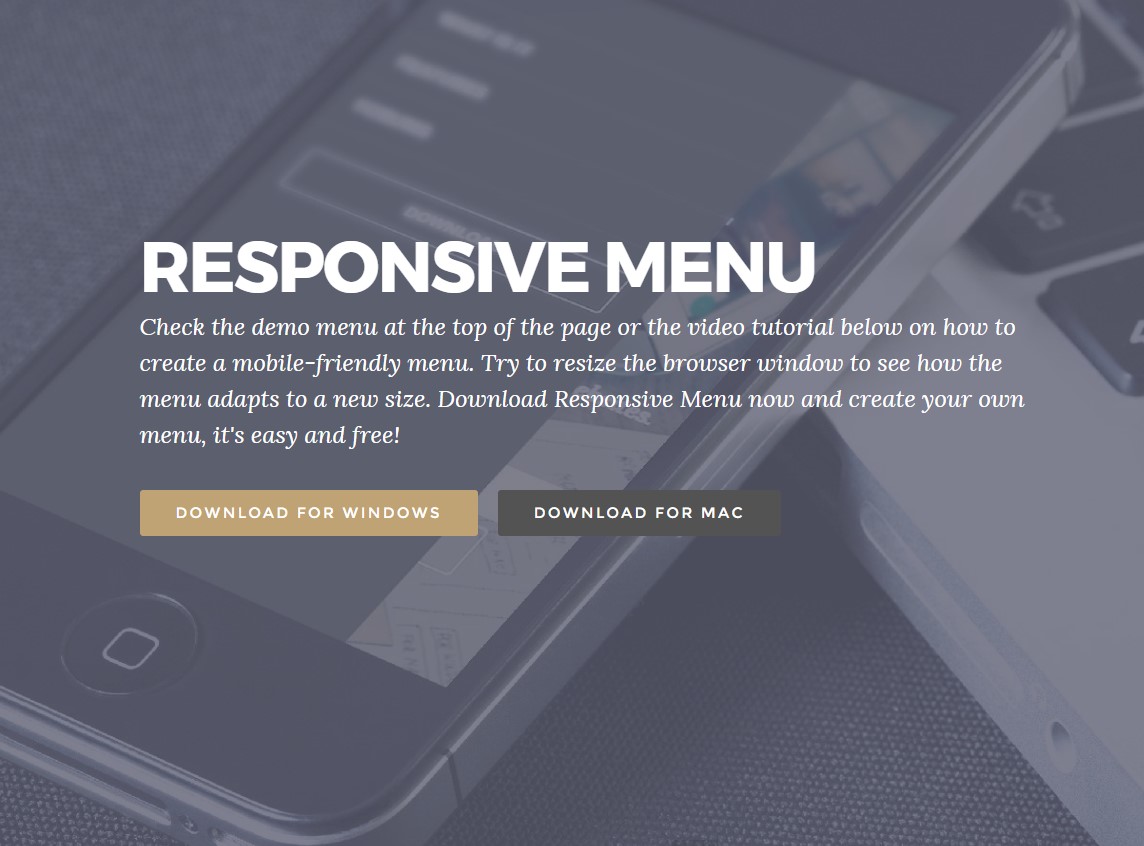
Inspect some online video short training regarding Bootstrap Menu
Connected topics:
Bootstrap menu authoritative documentation

Mobirise Bootstrap menu
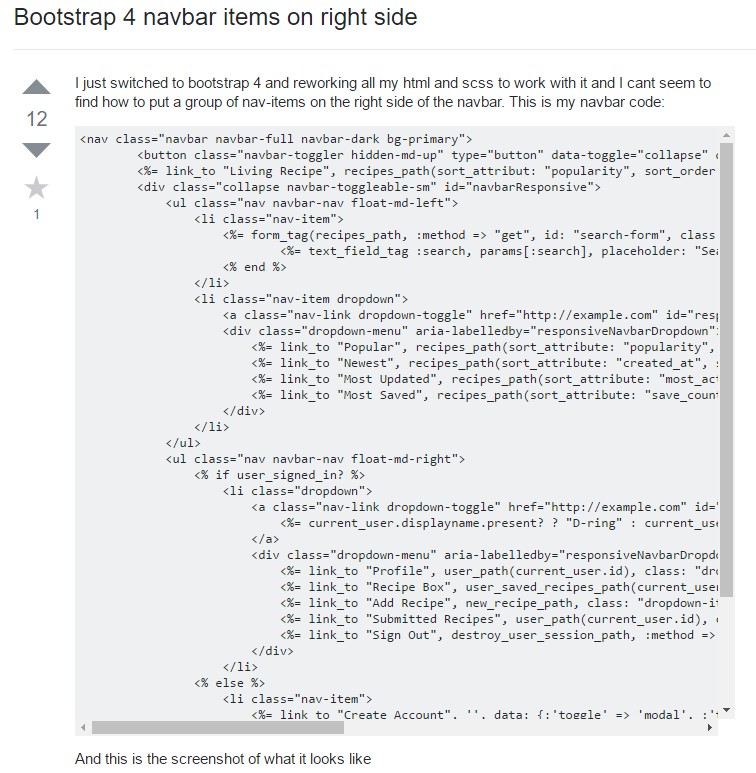
Bootstrap Menu on the right side